A 5-minute commercial laundry troubleshooting guide helps your staff act fast when a machine slows down, stops mid-cycle, or shows an error. Downtime cuts into your revenue, delays customers, and puts extra pressure on your team, so every minute matters.
With the right steps, your staff can handle many common issues with commercial laundry equipment before they turn into service calls. A simple, consistent process keeps your machines running, protects your schedule, and gives your customers a better experience.
Start Here: Safety First
Before your staff troubleshoots any commercial laundry equipment, make safety the first step. Electrical shock, water leaks, and locked doors can create serious hazards, so stop the machine and control the risk before checking anything else.
- Power down the machine immediately. If a machine malfunctions, turn it off, unplug it, or shut off the circuit breaker. Never touch internal parts, panels, cords, or wet surfaces while the machine is still powered.
- Shut off the water supply. If you see leaking, pooling water, or signs of water damage, close the hot and cold shutoff valves behind the unit. This helps prevent flooding and protects the machine from further damage.
- Never force open locked doors. If a washer or dryer door locks mid-cycle, wait for the cycle to finish or use the safety release listed in the manual. Forcing the door can damage the latch, seal, or locking mechanism.
- Tag the machine out of service. Post an “Out of Order” sign right away so your staff and customers do not use the machine while you inspect it. A clear warning prevents bigger damage and keeps everyone safe.
Washing Machine Problems: Diagnosed in Under 5 Minutes
Washers handle some of the heaviest work in your facility, so start with the checks that solve the most common failures first.
Washer Won’t Start
Check these items in order:
- Check the power: Make sure the outlet has power, then confirm the circuit breaker has not tripped. Look for a blown fuse, tripped switch, or loose power connection before moving to the next step.
- Check the door latch: Open the door fully and look for clothing caught in the seal. Close the door firmly until it latches. Many washers will not start if the door is even slightly open.
- Check the water supply: Confirm the hot and cold water valves behind the washer are fully open. Turn each valve counterclockwise to open it and clockwise to close it.
No Water Filling the Drum
The inlet hoses may have kinks, tight bends, or pressure against the wall. Pull the commercial laundry machine away from the wall and inspect both water hoses. Straighten anything that restricts water flow.
The water supply valves may be closed. Turn both hot and cold valves counterclockwise until they open fully.
The inlet hose filters may be blocked with sediment. Disconnect both hoses at the valve connection and look for the small filter screens inside the inlet valves. Run water through them to flush debris. Reconnect the hoses and test the washer.
Won’t Drain or Spin
Your load may be overloaded or unbalanced. Pause the cycle and redistribute wet items evenly across the drum so the washer can spin properly.
The drain filter may be clogged with lint and debris. Locate the drain filter, often a coin trap at the front or back of the washer. Empty it completely and rinse it under running water.
The drain hose may be restricted. Trace the drain hose from the washer to the drain and clear any sharp bends or compression points.
Leaking Water
Tighten loose hose connections. Water may be spraying from the inlet hoses or outlet connections. Check these first and tighten by hand or with a wrench.
Inspect the door seal and gasket. Front-load washers develop mold and mineral buildup on rubber seals. Wipe the seal with a diluted bleach solution to remove debris that prevents a tight fit.
Check the pump and drain line. A damaged seal or cracked hose can cause steady leaking. If tightening does not work, the pump may need professional replacement.
READ MORE: Top Troubleshooting Tips for Common Laundry Equipment Issues
Dryer Problems: Quick Fixes That Work
Dryers usually fail for one of two reasons: lint buildup or poor airflow. When your clothes come out damp, your dryer stops heating, or your staff notices a burning smell, start with the basics before you call for service.
Clothes Coming Out Damp
If your dryer leaves clothes damp, clean the lint screen first. A clogged lint trap slows airflow and forces the dryer to work harder. Empty it before every load, and wash the screen once a month with warm, soapy water and a soft brush to remove residue you may not see.
Next, check the outside exhaust vent while the dryer runs. Hold your hand near the vent and feel for strong airflow. Weak airflow usually means lint or debris has blocked the ductwork. Use a wet/dry vacuum to remove lint from the vent chamber, the area around the heating element, and the ductwork. Lint often builds up inside areas your staff cannot see during a quick inspection.
Dryer Not Producing Heat
If your dryer runs but does not heat, test whether the drum warms after a few minutes on a high-heat setting. If airflow is clear but the drum stays cool, the heating element, thermostat, or thermal fuse may need professional service.
Check the dryer duct for crushed or collapsed sections that restrict hot air. Pull the machine away from the wall and inspect the ductwork behind the dryer. Then check the outside exhaust vent and remove debris or anything blocking the vent cover.
Unusual Noises or Burning Smell
Stop the dryer immediately if your staff notices a burning smell. Turn off the machine, unplug it, and call a technician. A burning smell can signal overheating, lint near the heating element, or an electrical issue, so never ignore it.
If the dryer makes grinding, clanking, or scraping noises, check the drum for coins, bobby pins, wire hangers, or other small metal objects. Remove the lint trap and inspect the opening as well. If the noise continues after you remove caught items, the drum rollers, bearing, belt, or felt seal may be wearing out. Document the sound, such as thumping, squealing, or grinding, and report it to your maintenance partner for diagnosis.
RELATED ARTICLE: Safety Tips for Handling Commercial Laundry Equipment
Payment System Failures
Your payment system controls revenue, so a small issue can stop collections fast. When coins or cards stop working, check the simple causes first before assuming the payment unit has failed.
Coins Not Accepted
If the coin mechanism stops accepting coins, empty the coin box first. A full box can jam the mechanism and prevent new coins from dropping. Remove the box, empty it completely, and reinstall it securely.
Then clean the coin slot and drop mechanism. Dirt, lint, and residue can stop coins from moving through the chute. Remove the coin drop assembly, clean it with soapy water, and dry it completely before reinstalling it. Also, inspect the coin pathway for stuck change or foreign objects, and remove anything that blocks the passage.
Card Reader Not Working
If your card reader stops working, check the internet connection first. Most card payment systems need an active Wi-Fi or hardline connection to process transactions. Confirm the connection works before troubleshooting the reader itself.
Next, reboot the payment system. Turn it off for 30 seconds, then power it back on. A simple restart often clears software glitches. If the reader still fails, clean the card slot gently with a soft, dry cloth. Do not use water or liquid cleaners on electronics.
For mobile app or digital payment platform failures, verify your internet connection and confirm your payment processor’s platform is active. If your facility uses QR code, mobile wallet, or cloud-based payment systems, contact your payment provider’s support team directly. These systems often require platform-level troubleshooting that goes beyond machine-level fixes.
Noise and Vibration Issues
Unusual sounds often point to imbalance, trapped objects, poor leveling, or worn parts. Your staff should treat new noises as early warnings, not background noise.
Thumping or Grinding Sounds
Thumping during a spin cycle often means the load shifted to one side. Redistribute the items, then restart the cycle. If the thumping continues with a balanced load, check whether the machine sits level on the floor.
Grinding often points to trapped objects, worn rollers, or bearing problems. Open the washer or dryer and look for coins, metal objects, or small items inside the drum. If the sound continues after you remove loose objects, take the machine offline and schedule a professional inspection to assess roller, belt, or bearing wear.
Excessive Vibration During Cycles
Squealing often points to a belt, pulley, or bearing issue. Do not let the machine keep running if the sound gets louder or repeats during every cycle. Document when the sound happens and schedule a professional inspection.
Severe vibration usually points to overload, poor leveling, or internal wear. Reduce the load size and run another test cycle. If vibration continues after balancing the load and confirming the machine is level, schedule service before the movement causes more damage.
Daily Maintenance to Prevent Downtime
Routine checks can reduce avoidable equipment failures and help your staff catch problems early.
- Clean lint filters after every load to reduce fire risk and maintain drying speed.
- Wipe down the washer door gaskets weekly. Use a diluted bleach solution to remove mold and mineral deposits. A clean seal prevents leaks and odors.
- Leave washer doors open at the end of the day. Air-dry the drum to prevent musty odors and mold growth in shared facilities.
- Flush detergent dispensers. Powdered or liquid detergent residue can gum up dispensers and cause overflow. Clean these monthly.
- Check that machines sit level on the floor. Uneven machines vibrate more, wear faster, and create noise. Use a level tool to confirm each unit sits flat, and adjust the feet if needed to eliminate rocking.
- Inspect hoses monthly. Look for cracks, bulges, or mineral buildup on inlet hoses. Replace any showing signs of wear before they leak.
Tools, Documentation, and Tracking
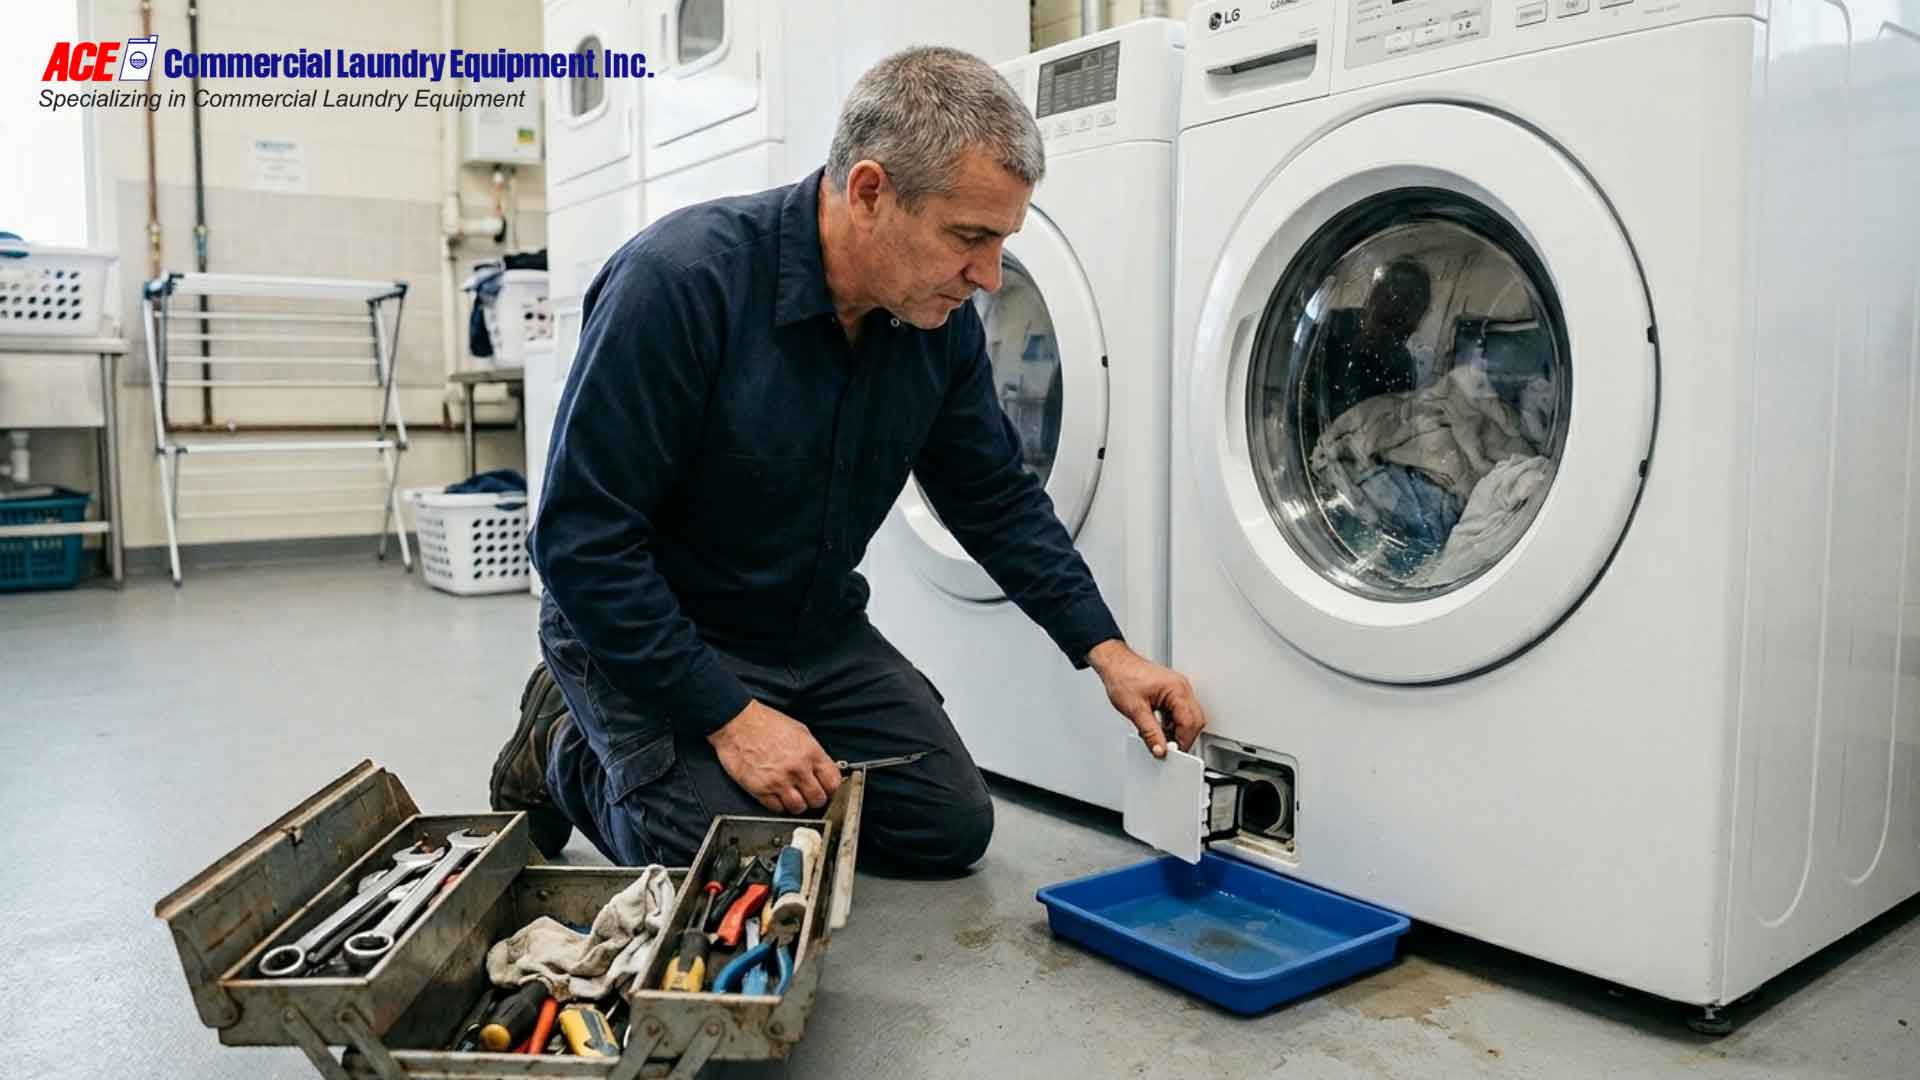
- Keep a troubleshooting toolkit handy. Stock basic hand tools such as screwdrivers, pliers, and adjustable wrenches. Include a wet/dry vacuum for lint removal and manufacturer-approved spare parts like inlet hose washers, lint trap screens, and coin slot mechanisms. Keep electrical testing tools for trained maintenance staff only.
- Save equipment manuals for easy access. Manuals provide error code meanings, wiring diagrams, and OEM parts lists. Photograph them and store copies in a shared staff folder so your team can reference them quickly.
- Track maintenance in a log. Record the machine ID, error codes, tasks performed, parts used, and service dates. Logs reveal patterns and help you plan routine checks before problems escalate.
When to Call a Professional Technician
Know when to stop troubleshooting and bring in a qualified technician. If your staff feels unsure, sees a safety risk, or cannot confirm the cause of the problem within a few minutes, call a professional before the issue gets worse.
Call a technician when the washer still will not drain after your staff clears the filter and confirms the drain hose is open. At that point, the pump or internal drain assembly may need service.
Call a technician for electrical faults, heat failures, burning smells, recurring breaker trips, control panel issues, motor trouble, bearing wear, or heating element failure. Do not ask your staff to repair motors, bearings, heating elements, wiring, or internal controls unless they have the right training and tools.
Call for service if the same error code returns after a reset or if the manual directs you to stop operation. Repeated resets can hide a larger issue and create safety risks.
Use replacement as a smart business decision, not a last resort. If the same machine needs repeat repairs, compare the repair estimate against the cost, age, efficiency, and reliability of a replacement unit.
Partner with a service provider that responds quickly and understands your facility’s workload. ACE Commercial Laundry Equipment Inc. serves Southern California facilities with emergency response times under 4 hours, scheduled preventive maintenance, and expert diagnostics. Ask if scheduled inspections make sense for your machine volume and service history.
ALSO READ: When It Makes Sense to Repair or Replace Commercial Laundry Equipment
Next Steps: Get Your Team Ready
Print the quick-reference checklist below, laminate it, and post it near your machines. When problems happen during a busy day, your staff should not have to guess what to check first.
Quick 5-Minute Troubleshooting Checklist
| Problem | 5-Minute Fix | Time |
| Washer won’t start | Check power, circuit breaker, and door latch | 1 min |
| No water filling | Open valves, straighten hoses, and clean inlet filters | 3 min |
| Clothes damp after drying | Clean lint screen, vacuum vent | 3 min |
| Dryer produces no heat | Check the lint filter and verify the heat activates | 4 min |
| Burning smell | Turn off the machine immediately | 1 min |
| Coins not accepted | Empty coin box and clean coin slot | 2 min |
| Card reader fails | Check the internet connection and reboot system | 3 min |
| Loud machine | Check load balance and inspect for loose objects | 2 min |
Empower Your Staff to Act Confidently
When your team understands how commercial laundry equipment works, they respond with more confidence and consistency. Share this guide with your staff, post the checklist, and walk your team through the most common issues during a brief training session.
Even with a trained team, some issues need a professional. If your facility needs service support, scheduled inspections, or help choosing the best commercial laundry machines, ACE Commercial Laundry Equipment Inc. can help you reduce interruptions and keep your operation moving.
Contact us today to discuss the right maintenance plan for your facility.
Frequently Asked Questions
1. How often should commercial laundry machines be cleaned and serviced?
Clean and wipe down your commercial laundry machines daily. Schedule professional preventive maintenance at least once every quarter. If your facility handles high volume, such as a laundromat, hotel, hospital, or multi-housing laundry room, schedule monthly inspections to catch wear before it becomes a larger issue.
2. Why shouldn’t you overload commercial washing machines?
You should not overload commercial washing machines because heavy loads block proper tumbling, reduce cleaning performance, and put extra stress on the motor, pump, bearings, and drum. Keep loads at about 80% of drum capacity so water, detergent, and fabric can move freely.
3. What’s the lifespan of commercial laundry equipment?
Most commercial laundry equipment lasts 7 to 10 years with regular maintenance. Their lifespan depends on usage volume, machine quality, water conditions, and service history. If repair costs approach 50% of the cost of a new machine, replacement usually makes more financial sense than repeated repairs.
4. How does commercial laundry equipment differ from residential machines?
Commercial laundry equipment has larger capacities, stronger motors, industrial-grade pumps, durable controls, and serviceable parts. Your commercial machines can handle frequent daily use, while residential machines are built for lighter household loads and may wear out quickly in a business setting. The best commercial laundry machines are the ones built for your load volume, available space, utility setup, and service needs.
5. What detergent should you use in commercial laundry machines?
Use a detergent formulated for commercial laundry equipment. Check your equipment manual for approved detergent types and dosage recommendations. Liquid or gel detergents can be easier to dissolve in many commercial settings, while some powder detergents work well when properly dosed. Follow your equipment manual and chemical supplier’s recommendations.