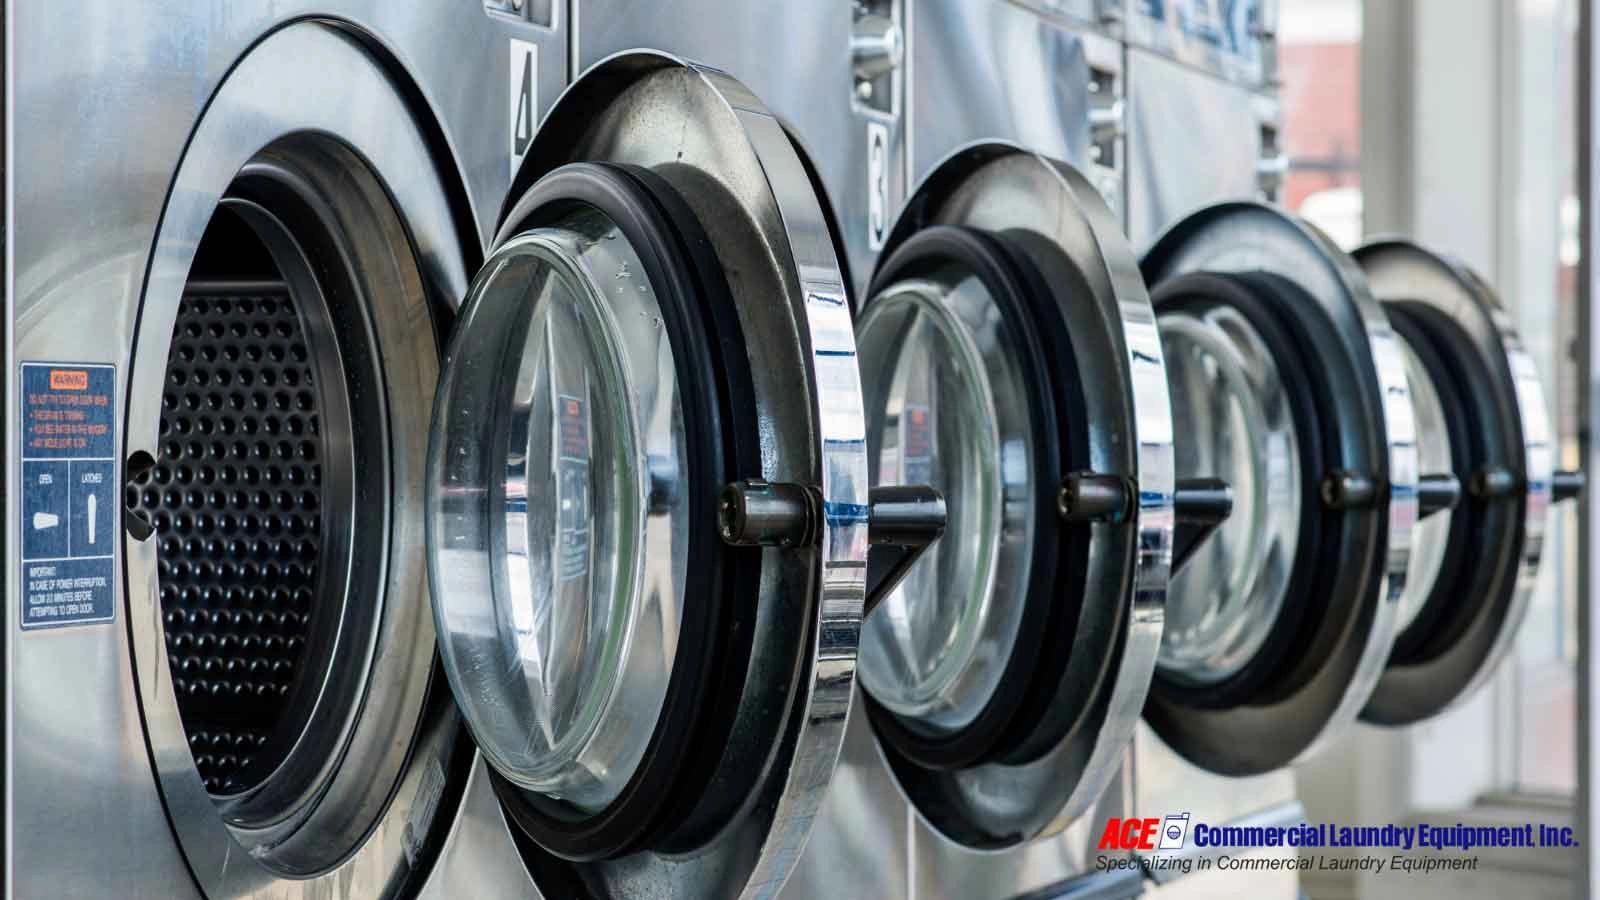
In high-volume laundry operations, machine failures are a fact of life. The key difference between a minor delay and a full-blown service disruption often comes down to how quickly and accurately the issue is diagnosed. Most equipment problems follow recognizable patterns tied to load stress, maintenance lapses, or component fatigue. Understanding the root causes and common failure points can help operators minimize downtime, reduce service costs, and keep workflow steady.
This guide breaks down the most frequent commercial washer and dryer issues with focused insights on why they happen and what to inspect.
1. Washer Fails to Start
When a washer fails to power on or begin a cycle, the problem usually lies within the safety interlocks or the control system. These machines are designed to protect themselves from misuse, so a small deviation in how they’re set up or maintained can prevent operation.
Start with the electrical source. A loose connection at the terminal block, tripped breaker, or faulty wall socket can prevent power delivery. Once power is confirmed, check the door or lid switch. Even a slight misalignment can prevent the control board from recognizing that the door is locked.
If the display panel remains blank or unresponsive despite verified power, the issue could be corrosion or failure in the control board circuitry. Moisture from over-sudsing or poor ventilation often accelerates this kind of degradation.
What to check:
- Voltage at the outlet and terminal block
- Door or lid latch for mechanical wear or misalignment
- Continuity through the door switch with a multimeter
- Burn marks or discoloration on the main control board
To reduce workload and maximize output, consider integrating these practical laundry hacks into your daily process.
2. Washer Not Draining
Drainage issues are among the most common complaints in commercial washers, particularly those handling mixed fabrics or high-lint loads. A failure to drain typically signals physical obstruction or pump failure.
Coins, hairpins, and lint often accumulate in the pump filter or impeller. A partially clogged filter may allow partial drainage, leading to inconsistent results from one load to the next. If water remains completely stagnant in the drum, check for a jammed or non-functioning drain pump motor.
Incorrect drain hose positioning also creates problems. A hose positioned too low may allow back-siphoning. A crushed or kinked hose can restrict flow and cause the pump to overheat over time.
Inspection checklist:
- Clear the pump filter and impeller chamber
- Confirm the drain hose is elevated to the recommended height
- Verify power delivery to the pump motor
- Check for pump vibration or sound during operation
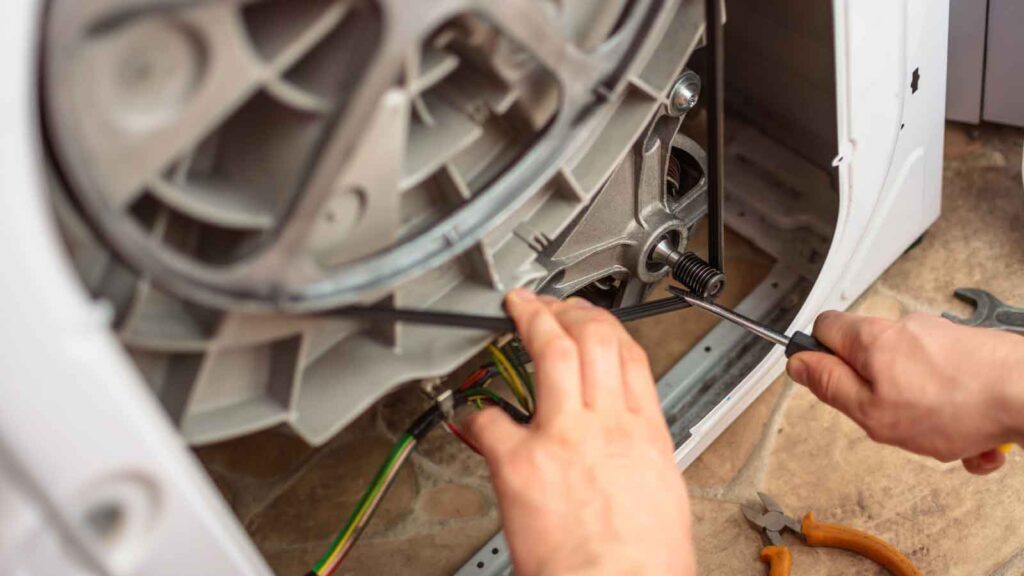
3. Washer Drum Not Spinning
A washer that fills and drains but does not spin is often responding to internal safeguards. Imbalanced or overloaded conditions prompt the control system to abort spin cycles to prevent hardware damage.
Before assuming a mechanical failure, examine the type of load being washed. Items like rugs, blankets, or small mixed loads tend to shift and create centrifugal imbalance during spin cycles. When redistribution fails automatically, the machine stops spinning altogether.
If the load is normal but spin still does not initiate, focus on the drive system. Belt-driven models may suffer from a stretched or snapped belt. Direct-drive machines rely on stators, rotors, and tachometers to control motor speed and direction. A failure in any of these components interrupts spin engagement.
Diagnostic steps:
- Run a test cycle with a small, evenly balanced load
- Inspect drive belt for wear or slippage
- Test the tachometer for correct signal output
- Check motor windings for continuity and resistance
4. Dryer Not Heating
Dryers that run but do not heat are typically reacting to blocked airflow, high internal temperatures, or ignition failure in gas units. Heat is disabled when sensors detect that operating conditions are unsafe.
Begin by checking the thermal fuse. If it is blown, heat will be disabled entirely. Most commonly, this occurs due to poor airflow, often caused by vent obstructions. Lint buildup in ducting or the blower housing reduces ventilation and triggers thermal shutdown.
Electric dryers should be tested for heating element continuity. Gas dryers should be observed to see if the igniter glows and whether the gas valves open during the cycle. A glow with no ignition often points to failed solenoids or a restricted gas supply.
Key inspection points:
- Test thermal fuse and cycling thermostat for continuity
- Inspect and clean venting from the dryer to the exhaust exit
- Verify igniter function in gas dryers
- Test the heating coil in electric dryers for breaks or shorts
5. Dryer Takes Too Long to Dry
When a dryer seems to operate normally but takes much longer than expected to dry clothes, the problem often lies in subtle reductions in airflow or sensor miscalibration.
Even partially restricted ducts reduce the exchange of humid air, slowing drying performance significantly. Moisture sensors inside the drum may also become coated with residue from dryer sheets or softeners, resulting in inaccurate readings.
Another issue involves blower wheel slippage. If the wheel is not firmly attached to the motor shaft, airflow is reduced even though the motor appears to run properly.
What to verify:
- Full vent duct inspection using airflow meter or pressure gauge
- Clean moisture sensors inside the drum with a non-abrasive cloth
- Confirm blower wheel is rotating with the motor and has no play
- Ensure load size allows for free tumbling of garments
6. Excessive Vibration or Noise
Unusual movement, shaking, or banging noises during spin cycles are often early warning signs of mechanical failure or poor installation. The most common cause is uneven leveling, but deeper issues may involve suspension, drum bearings, or foreign object damage.
Washers and dryers need to be level front to back and side to side. Even small variances allow movement that stresses suspension components over time. If leveling is not the issue, check for worn dampers or cracked springs. If the noise sounds metallic or grinding, inspect the drum bearings.
Foreign objects caught between the drum and tub wall can also create repetitive thumping. Items such as coins or bra wires often enter through damaged drum seals.
Inspection areas:
- Adjust leveling feet and test machine with and without load
- Examine suspension rods or shock absorbers for visible wear
- Rotate drum manually and listen for grinding or resistance
- Remove lower access panel and inspect for loose debris
7. Error Codes and Diagnostic Displays
Modern commercial laundry machines use digital diagnostics to identify faults, but interpreting these correctly requires attention to detail. Operators often reset codes without investigating the underlying issue, leading to repeated failures.
When a code appears, it should be recorded immediately before the unit is powered off. Most brands provide a diagnostic mode that allows technicians to test sensors, valves, and motors manually. Use this feature to simulate conditions and isolate the failure.
Do not assume all codes are self-explanatory. A water inlet error might be caused by a failed valve, a kinked hose, or even a faulty pressure sensor. Context matters, and repeated codes often reflect environmental factors like water pressure, room humidity, or electrical noise.
Action plan:
- Record the full error code and time of failure
- Enter diagnostic mode and test related components
- Refer to the manufacturer’s service manual, not just a code chart
- Watch for patterns across different cycles or machine types
Preventive Strategy: Routine Observations and Performance Baselines
Troubleshooting becomes easier when there is a known performance baseline. Machines degrade gradually, and subtle changes often go unnoticed without regular observation.
Create a weekly maintenance checklist that includes:
- Visual inspection of belts, hoses, and electrical connections
- Test cycles to verify spin, heat, and drainage times
- Measurement of vent pressure and airflow velocity
- Sensor and switch testing during low-load operation
Tracking this data helps identify emerging issues before failure occurs. Keeping service logs per unit allows technicians to spot patterns and predict part replacements more accurately.
For a deeper dive into proactive care strategies, explore our guide on essential maintenance tips for commercial laundry machines to prevent issues before they start.
Conclusion
Equipment problems are not always random or complicated. Most failures stem from predictable mechanical wear, sensor drift, or environmental stress. A clear troubleshooting process—rooted in mechanical understanding, not guesswork—saves time, reduces repair costs, and extends the life of every unit on the floor.
The best technicians are not the ones who replace parts the fastest. They are the ones who know exactly which part is failing and why.
If you’re facing persistent equipment issues or want expert help diagnosing a recurring problem, contact ACE Commercial Laundry Equipment Inc at 14404 Hoover St, Westminster, CA 92683, or call 877-630-7278 today. Our experienced team provides fast, reliable commercial laundry equipment support to get your operation back on track.